Care to know How to remove a tire from a rim?
Getting a tire off a rim might seem like a simple task. From the outside, it looks like a strong pry and couple of good yanks are all it takes to pop the rim away from the rubber. Unfortunately, it’s not as simple as it sounds.
Tires are integral to what makes a car a car – they’re always there and they play a key role in keeping the vehicle rolling. As long as you’re driving, they are working, rolling over the terrain no matter what the roads look like.
For every vehicle, the wear-and-tear eventually gets to them and the tires are just not as good as they used to be. You’ve probably noticed some tread patterns on them, right? These contribute to their efficiency and help maintain traction on the road.
Over time, they become worn down and your car loses much of its traction and even braking ability. At this point, it’s time to change the tire.
Most people take the car to an auto repair shop for this, but it can get rather expensive.
There’s another option. You could just do it yourself. Like we said, not the simplest of jobs, but it’s certainly doable.
Let’s run through what’s involved in changing a car’s tires. Check and see if you can handle this:
Step 1 – Remove the tire from the vehicle
For this, you need a hydraulic floor jack, jack stands, a tire iron, a torque wrench, and wheel clocks.
- Make sure the vehicle is parked on a level surface.
- Place the wheel clocks around the tire opposite the one you are taking out.
- Loosen the lug nuts on the wheels with the tire iron.
- Use the jack to lift the vehicle until the tire is no longer on the ground.
- Remove the nuts with the wrench.
The tire should be ready for removal. Do this carefully and move onto the next step.
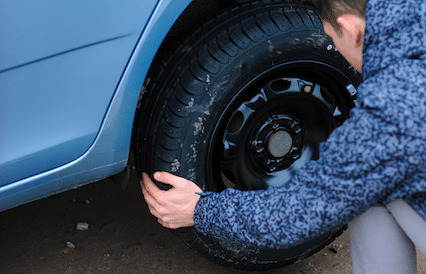
Step 2 – Removing the tire from rim proper
Again, you will need some tools here, but nothing too fancy. Most of them should be in your garage already.
This includes –
- An appropriate lubricant. Oil or even liquid dish soap will do the trick.
- One of a crowbar, a tire iron, or a ply bar.
- Pliers, or any tool that can remove a valve core.
- A screwdriver (preferably customized tire removers).
- A tire bead breaker.
Once you’ve got these ready, it’s time to get started removing the tire from the rim. The process goes as follows:
1. Deflate the tire
On the core of the tire is an air cap or valve core. This is where the tire is inflated. Use the valve removal tool to remove the air cap from the rim. Start by threading the tool inside the valve stem. Then, twist in a counterclockwise direction. Remove the cap from the loosened valve and release it to allow air out.
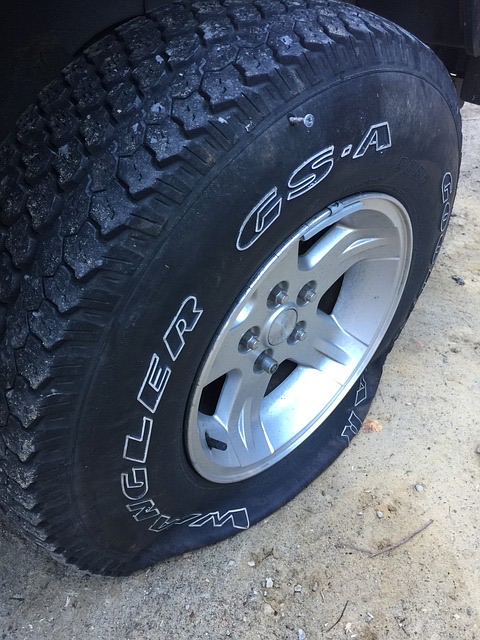
2. Next is de-beading the tire
This is the toughest part. The bead is firmly attached to the rim and takes quite a bit of effort to get out. Some people even resort to driving a car over the tire to forcefully break it. Sounds extreme, doesn’t it? Well, it works.
There are other methods you could use to do this. When you’re ready, go with whichever method you prefer.
That said, there are four possible methods you could use to get the tire off the rim including –
Remember the bead is strongly attached to the rim with a braided steel cable and very strong glue. You need more than a little bit of force to break it. Place it on the ground in a way that lets you drive over the rubber but not the metal rim. Drive over it a few times till it breaks.
Another car trick, although this one is a bit harder and more dangerous to do as it requires getting under a suspended vehicle. Avoid doing this if you’re not great at using a jack to lift your car. Here, you have to lift the car with the jack and place the tire underneath it. Then, gently lower the vehicle back onto the bead part of the tire.
A blade or knife can cut the bead of the rim. Just be sure to follow the pattern of the seam and avoid the metal rim while cutting.
This is an excellent tool made specifically for removing a tire from the rim. It significantly reduces the chances of the rim getting damaged in the process. If you’ve got this tool, be sure to use it here.
3. get the lubricant
Now that you’ve broken the bead using one of the above methods, it’s time to forge ahead. Get the lubricant and apply it to the edge of the rim. You’ll be glad you did this when it’s time to remove the bead from the rim.
4. Be like the pros
With the pry bar and screwdriver, attempt to create a space between the tire and rim.
Do it like the pros – wedge the pry bar between the tire and the rim and hold the bead in place. Then, use the screwdriver to push it out on one side. Turn to the other side and repeat the process till the tire is loosened from the rim.
5. time to remove it
Remove the metal rim from the tires. Just grab onto the rim and pull it out of the rubber.
Let’s be clear here, this isn’t a low-effort undertaking. You have to put your back into it from start to finish. By the time you’re done, you’ll be more than thankful that this isn’t something you have to do regularly.
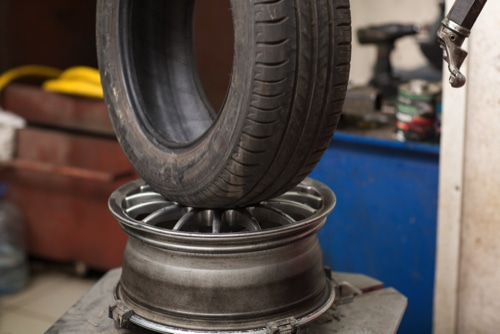
Using a Manual Tire Changing Machine
This is another option you could employ in removing a tire from the rim, where you use a machine to do the job. It’s much easier than manually detaching the tire from the rim.
But it’s still a manual method you could use at home, although it requires a machine. However, this machine is much less advanced than the one used by experts in an auto repair shop.
All you need is:
- The machine (a manual tire changer)
- Wood surface (preferably plywood)
- Tire changing rod
- Screwdriver
- Bolts (at least 12cm long and 1.3cm wide)
- Valve core removal tool
- Lubricant
- Pencil
Steps required
- Place the machine on the wood surface.
- Trace the outline of the base with the pencil noting the areas with holes for the bolts. Make the appropriate holes and secure the machine into the wood with the bolts.
- Deflate the tire using the same process described above for removing air from a tire.
- Place the tire on the machine and clamp it down.
- With the tire changing rod (or any other metal with a pointed tip), expose the rim of the tire on all sides.
- Place the tire on top of the changer and lock it in. There’s a cylindrical disc on the changer with a spoke, insert the tire here and twist to lock.
- Lubricate the area close to the rim with the lubricant.
- Remove the tire from the rim with the tire changing rod until it's ready to come out. Then, remove the whole tire from the rim.
And that’s it on removing a tire from the rim at home. As long as you have the tools (or alternatives that could work) and the time, as well as the dedication, there’s no reason why you shouldn’t be able to do this on your own.
Are your tires due for a replacement? Get a new one and try to figure out the replacement on your own. You’ve got this!
If you care to know more about tires, you might also be interested in our guide about all things tires…


